When installing tongue-and-groove walls, you should leave small expansion gaps—about a quarter inch—along edges and at corners to allow for natural movement caused by humidity and temperature changes. These gaps prevent warping and cracking over time. To achieve a clean finish, hide them with baseboards or molding. Properly managing these gaps and finishing details helps create a seamless, durable, and soundproof surface. Keep exploring to learn how to perfect your installation.
Key Takeaways
- Leave about a quarter-inch expansion gaps along edges and corners to accommodate wood movement.
- Hide expansion gaps with baseboards or molding for a clean, finished look.
- Ensure panels are tightly interlocked during installation to minimize gaps and maintain stability.
- Use proper tools and techniques, like a level and gentle tapping, for precise fitting and gap management.
- Finish with sanding, staining, or painting to conceal gaps and enhance the wall’s appearance and durability.
Have you ever wondered how to create seamless, attractive walls that add both style and durability to your space? If so, tongue-and-groove walls might be your perfect solution. This technique involves fitting boards together with a tongue on one edge that slots into a groove on the adjacent board, resulting in a smooth, continuous surface. When you’re planning your project, proper panel installation is key to achieving a polished look. You want each piece to interlock tightly, minimizing gaps and ensuring stability. Carefully measuring your wall and preparing your boards beforehand will make panel installation smoother and more precise. Using the right tools, like a rubber mallet and a level, helps you tap the boards into place without damaging them, maintaining a clean, professional finish.
One of the biggest advantages of tongue-and-groove walls is their acoustic benefits. Because the boards fit snugly together, they help reduce sound transmission between rooms. If you’re aiming for a quieter, more private space—be it a home office, media room, or bedroom—these walls can markedly enhance sound insulation. The tight fit between the panels absorbs sound waves more effectively than other types of wall coverings. You’ll notice less echo and less noise seeping through, creating a more comfortable environment. Plus, the natural material of many tongue-and-groove panels, like wood, further dampens sound, adding to the overall acoustic benefits. Proper installation techniques and understanding expansion gaps are essential for long-term durability.
Tongue-and-groove walls enhance soundproofing, creating quieter, more private spaces with natural dampening qualities.
However, to maximize these benefits and ensure your wall looks great, you must consider expansion gaps. Wood naturally expands and contracts with changes in humidity and temperature. If you skip this step, your panels could buckle, crack, or warp over time. Typically, leaving a small gap—about a quarter inch—along the edges or at the corners allows the material to expand without causing damage. During installation, you can leave these gaps intentionally or hide them with baseboards or molding for a neat finish. Properly managing expansion gaps not only preserves the integrity of your tongue-and-groove wall but also helps maintain its seamless appearance over the years.
Finally, finishing touches are just as important as the installation itself. Once all panels are in place and expansion gaps are accounted for, you can sand, paint, or stain your wall to match your decor. Filling any small gaps or nail holes with wood filler ensures a smooth surface. Taking the time to finish your project thoroughly guarantees your tongue-and-groove wall remains attractive, durable, and functional for years to come. With careful panel installation and attention to expansion gaps, you’ll end up with a stunning, noise-reducing feature that elevates your entire space.

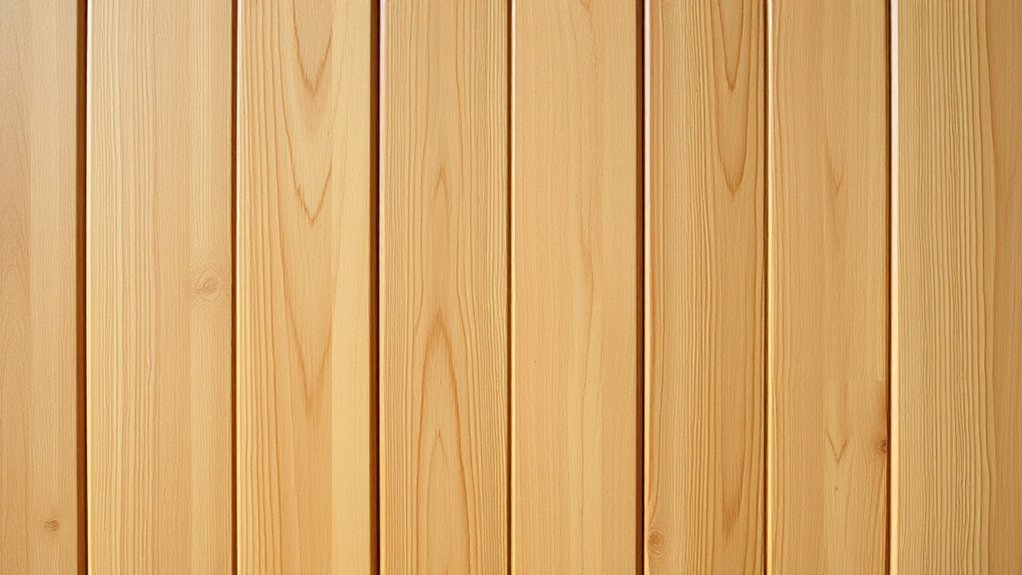
Western Red Cedar Wall Panels, 0.3" T x 3.5" W x 47.5" L Wood Planks for Walls, Accent Wall Panels for Interior Wall Decor, Tongue and Groove, 18 Planks (20.4 Square Feet)
Package Includes: One box includes 18 pieces of 0.3"Hx3.5"Wx47.5"L Canadian red cedar boards
As an affiliate, we earn on qualifying purchases.
As an affiliate, we earn on qualifying purchases.
Frequently Asked Questions
Can Tongue-And-Groove Walls Be Painted or Stained?
Yes, you can paint or stain tongue-and-groove walls. For painting, use high-quality painting techniques like brushing or rolling to achieve a smooth finish, and consider using primer first. For staining, choose your staining options carefully and apply evenly with a brush or cloth. Both methods enhance the natural beauty of the wood, giving your walls a fresh, updated look while highlighting the craftsmanship of the tongue-and-groove design.
How Do I Repair a Loose Tongue-And-Groove Board?
A loose tongue-and-groove board is like a wandering ship on your wall. To fix it, remove the board carefully, then apply wood glue into the groove and on the tongue of the replacement board if needed. Reinsert the board tightly, ensuring it snugly fits. Clamp it until the glue dries, securing the board firmly in place, making your wall look seamless again.
What Is the Best Way to Clean Tongue-And-Groove Surfaces?
To clean tongue-and-groove surfaces, start by dust removal with a soft brush or vacuum fitted with a brush attachment to avoid scratching. Then, use a damp cloth with a mild wood cleaner or soap solution to wipe down the boards. For polishing, apply a suitable wood polish or wax using a soft cloth, buffing gently to enhance the finish and bring out the wood’s natural shine.
Are Tongue-And-Groove Walls Suitable for Outdoor Use?
Sure, tongue-and-groove walls are the epitome of outdoor-ready design—if you enjoy constant maintenance and weather-related surprises. While some materials boast weather resistance and durability, most aren’t built for the elements. If you want your walls to withstand rain, sun, and wind without warping or rotting, look for specially treated or composite options. Otherwise, you’re signing up for a perpetual outdoor renovation project.
How Do I Prevent Gaps From Forming Over Time?
To prevent gaps from forming over time, you should focus on managing wood movement through proper expansion management. Use high-quality, stable wood, and allow for adequate expansion gaps during installation. Regularly maintain and seal the wood to minimize moisture changes that cause movement. Controlling humidity levels in your space also helps reduce wood expansion and contraction, ensuring your tongue-and-groove walls stay tight and gap-free longer.

uxcell T-Molding Transition Strips, 3.28 ft x 1.97" (L x W) PVC Floor Flat Divider Strip Self Adhesive Vinyl Flooring Edging Trim for Joining Floor Gaps Doorways, Gray Wood Grain
What You Get: The size of the floor gap cover strips is 1000 x 50 x 8mm /…
As an affiliate, we earn on qualifying purchases.
As an affiliate, we earn on qualifying purchases.
Conclusion
So, now you know the secret behind perfect tongue-and-groove walls—expand those gaps and stay flexible. Because nothing screams “professional” like cracking walls and awkward gaps, right? Just remember, a little patience with expansion gaps and finishing touches keeps your walls looking sharp and your sanity intact. So go ahead, embrace the wiggle room, and turn that DIY project into a masterpiece—just don’t forget to leave a little room for life’s unexpected shifts!

Art3d Wall Baseboard Molding Trim 8-Pack of 56 x 3.2 in., High Impact Polystyrene Skirting Board – Installed with Glue – White
High-Impact Polystyrene Material – Compared to flexible PVC wall baseboard molding trim, our's more stiff and sturdy that…
As an affiliate, we earn on qualifying purchases.
As an affiliate, we earn on qualifying purchases.

Focusound 52 Pack Acoustic Foam Panels 1" x 12" x 12" Sound Proof Foam Panles Soundproofing Noise Cancelling Wedge Panels for Home Office Recoding Studio with 300PCS Double-Side Adhesive
Soundproofing – Acoustic foam panels triangular grooves structure for better noise absorption, helps to reduce and absorb unwanted…
As an affiliate, we earn on qualifying purchases.
As an affiliate, we earn on qualifying purchases.